Best Microphones for High-Quality Video Productions: Choosing and Using the Right Audio Gear
Clear, well-recorded audio turns a decent video production into believable storytelling. This guide walks through which microphone types and features matter for both sit-down and location shoots, how polar patterns and connectivity shape what you capture, and straightforward setup and monitoring steps that cut retakes and speed up post. You'll learn when to pick lavalier, shotgun, handheld, or USB options, how wireless systems add mobility and redundancy, and a short checklist for matching mic choice to environment and workflow.
What Are the Best Types of Microphones for Video Productions?
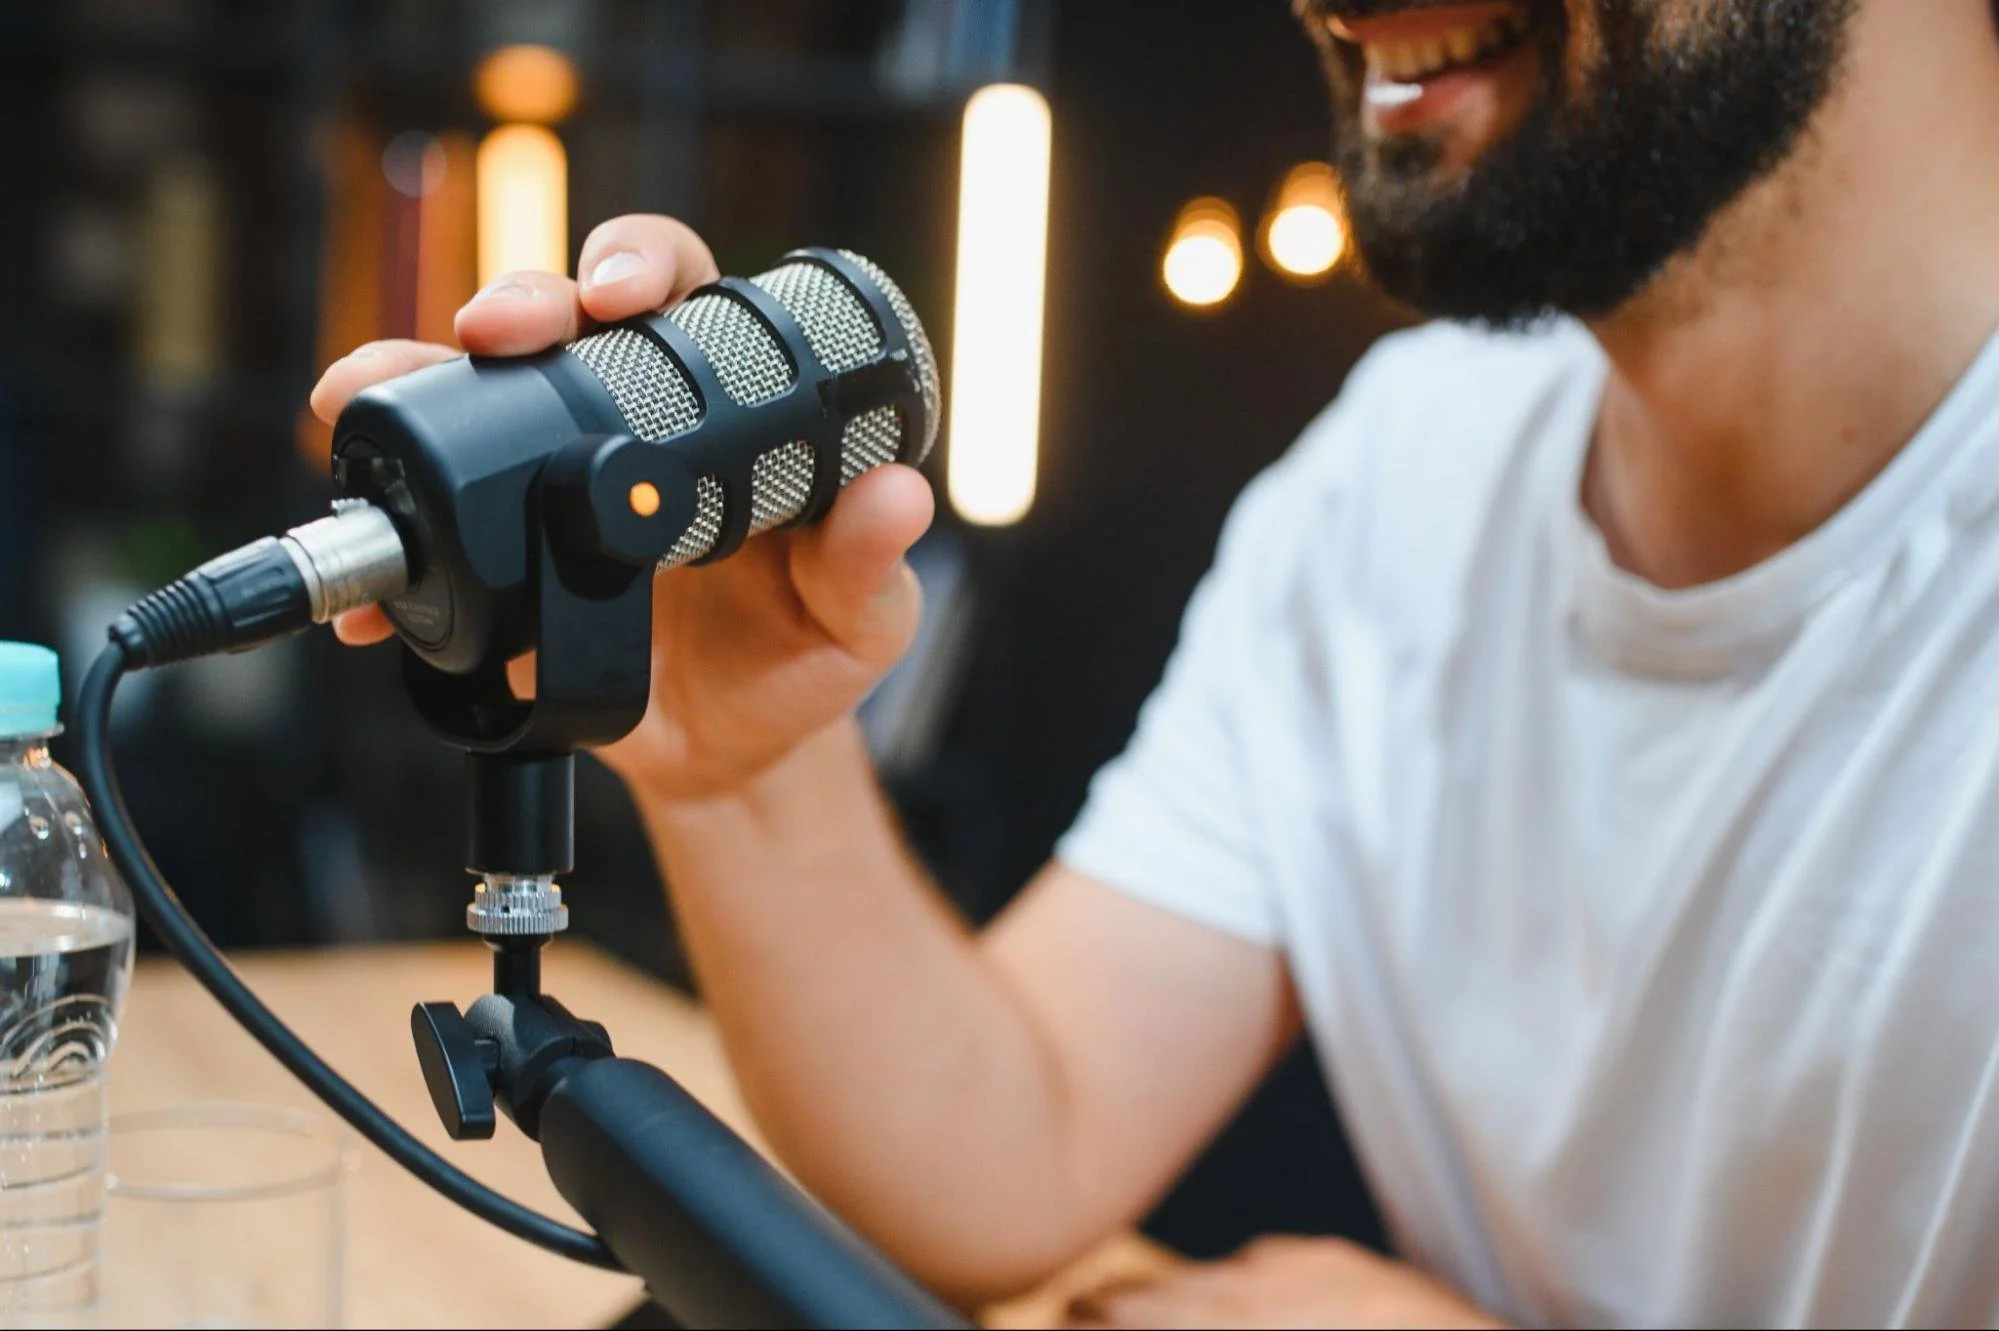
The main microphone categories for video productions are lavalier, shotgun, handheld, and USB; each offers different capture characteristics and production trade-offs. Lavalier mics give close, steady vocal capture with minimal room tone, ideal for corporate sit-downs. Shotguns provide directional reach for boom use when you can't or don't want visible microphones. Handheld dynamics are rugged and work well for on-camera exchanges, while USB condensers are a simple direct-to-computer option for remote or single-camera shoots. Knowing these categories helps you balance concealment, isolation, and operational simplicity when planning an event.
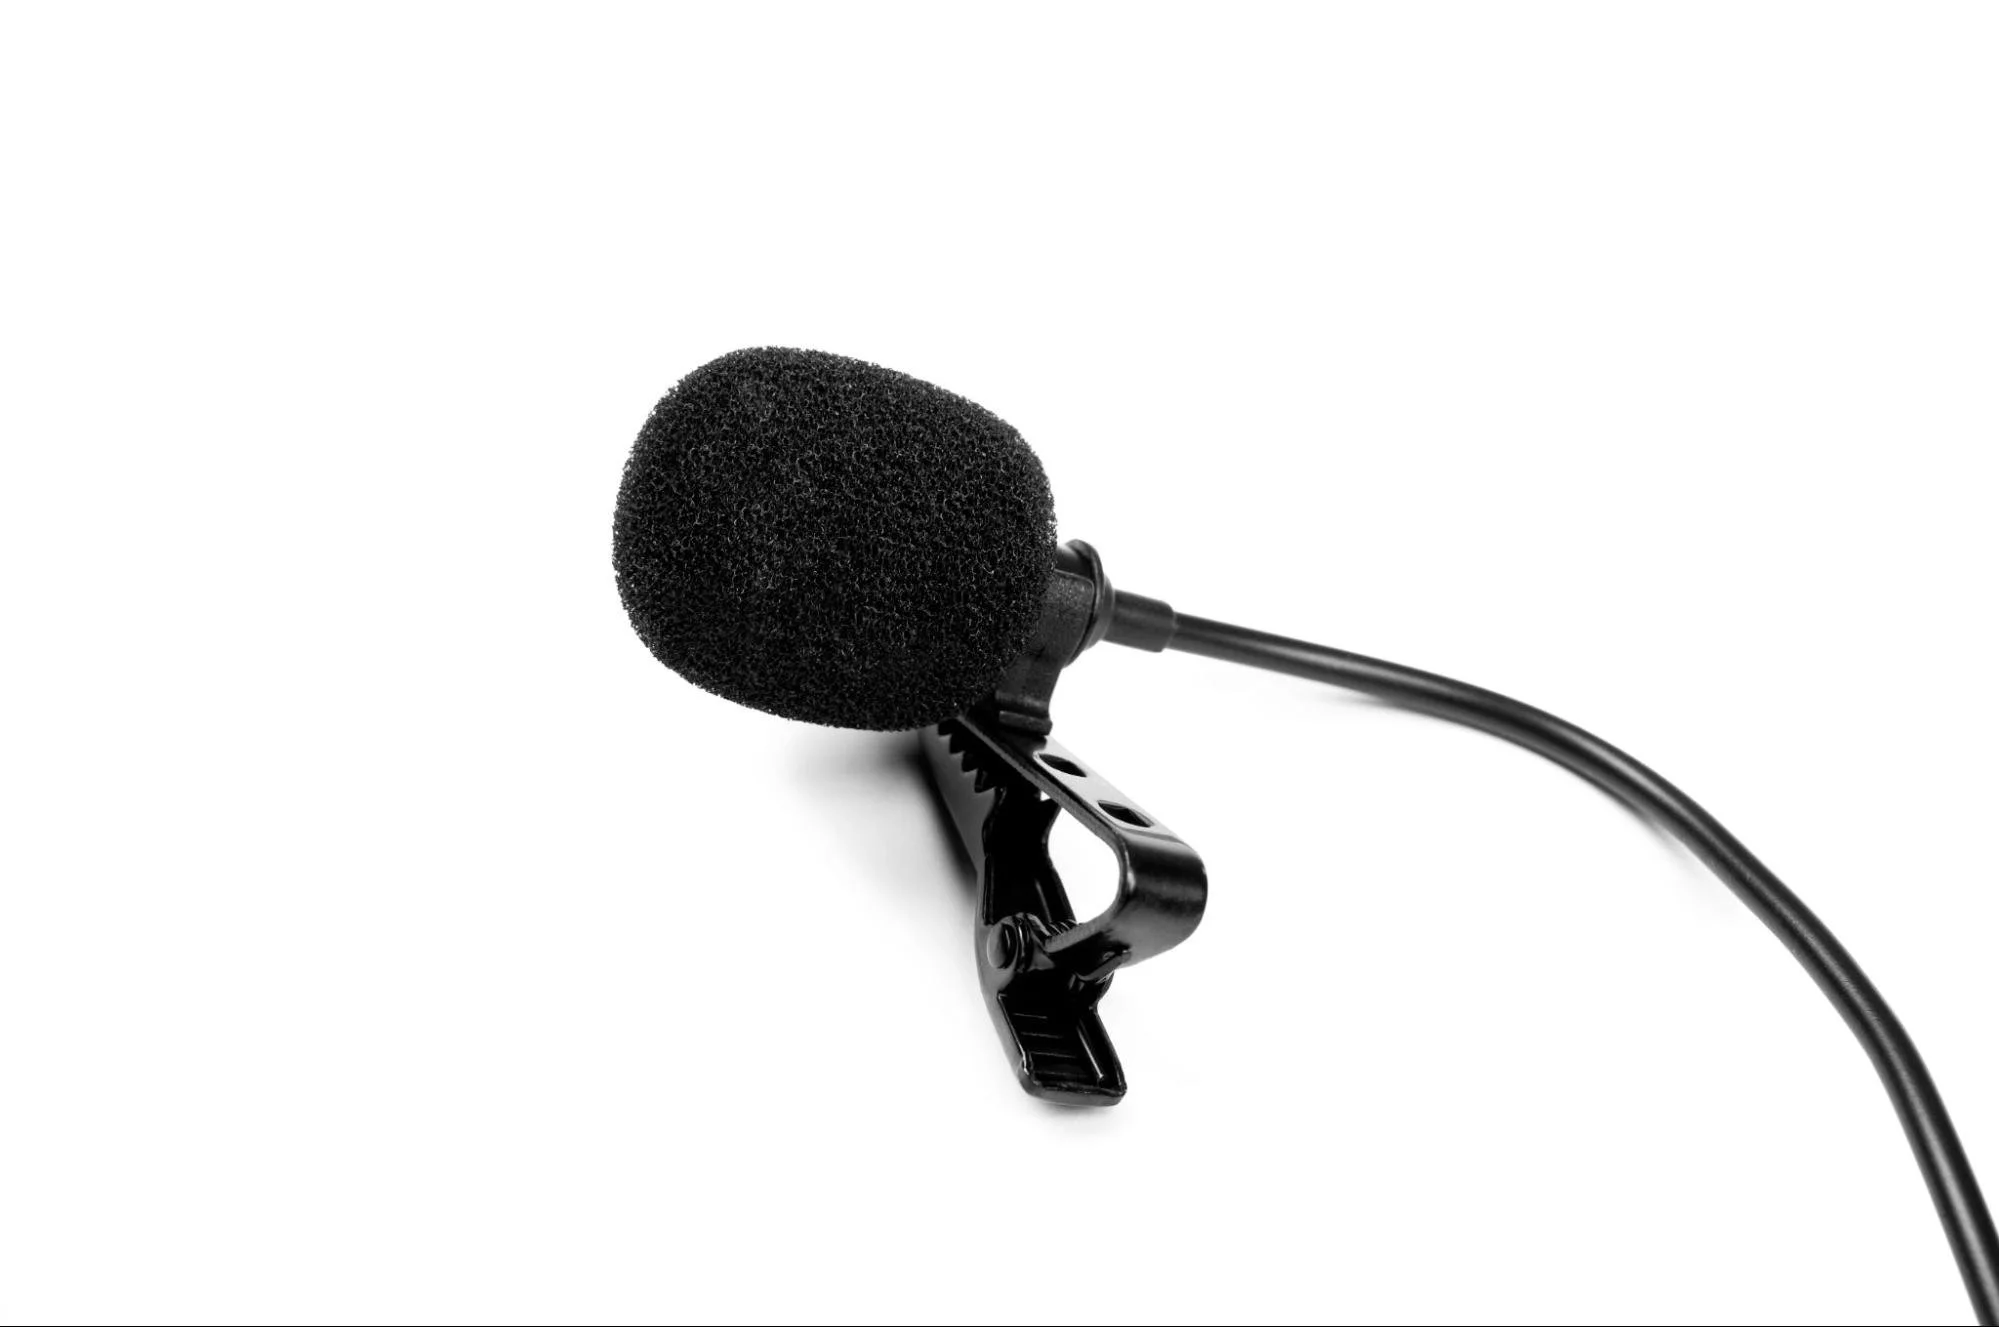
Which Lavalier Microphones Deliver Clear Audio for Video Productions?
Lavalier mics work by placing the capsule near the chest or collar, which reduces room reflections and keeps levels consistent between takes. Choose omnidirectional lavs for natural off-axis response and freedom of movement; choose cardioid lavs for better isolation from nearby noise. Wired lavs are simpler and often more reliable; wireless lavs give talent freedom but require extra checks. Placement matters, clip the lav 6–8 inches below the chin onto stable fabric and check for clothing noise. Always monitor and, when possible, record a backup channel for wireless setups to protect against interference or battery failures.
When Should You Use Shotgun Microphones in Video Production?
Shotgun microphones reject off-axis sound to isolate the speaker, making them a strong choice when you don't want a visible mic but need to control room ambience. Mount the shotgun on a boom pole just out of frame, angle it slightly downward toward the mouth, and keep roughly 1–3 feet distance to maintain natural tonality and avoid parallax. Shotguns shine outdoors or in larger rooms where lavaliers pick up too much background noise, but they demand a skilled operator to minimize handling and wind noise. When concealment is difficult or dialog dynamics change, a well-operated shotgun often produces cleaner results than a poorly placed lavalier.
How Do Wireless Microphone Systems Improve Audio Quality?
Wireless systems reduce cable clutter and let talent move freely, while many professional units add reliability features like secure RF transmission and onboard recording. Wireless lavaliers and bodypack transmitters with internal recorders provide a fail-safe if RF drops out. When comparing systems, evaluate range, channel count, encryption, latency, and battery life. Pro systems use diversity reception and higher-quality codecs to limit interference. Proper monitoring and frequency planning are essential to get the clean, dependable signal professional productions require.
What Are the Advantages of Wireless Lavalier and Shotgun Microphones?
Wireless lavalier and shotgun setups remove cable constraints and reduce visible gear, improving talent comfort and shot composition. Transmitters with onboard recorders create a backup that can rescue a take if RF or receiver issues occur, and modern wireless codecs retain intelligibility with minimal latency. Wireless systems do require battery checks and frequency scans to avoid interference, but their operational flexibility often justifies the extra prep, especially for events and multi-location shoots.
Which Wireless Systems Are Best for Professional Video Productions?
Prioritize features over brand, look for multi-channel support, a strong feature set, onboard recording, low latency, and solid encryption. Diversity reception and frequency management tools make performance predictable in crowded RF environments and are especially important for multi-talent shoots. Costs rise with feature sets; for high-stakes production choose a pro-level system with onboard recording and ample channels. For smaller teams, consumer models can work if paired with careful monitoring. Decide whether to rent or buy based on how often you'll need redundancy and professional reliability.
How Do You Choose the Right Microphone for Your Video Production Setup?
Start by assessing the recording environment, the number of participants, and your delivery format, then match microphone attributes, polar pattern, connectivity, and placement to those needs. Choose lavaliers when concealment matters, shotguns for directional reach, and USB for simple direct-to-computer workflows. Pick XLR for a pro signal path; use USB for straightforward remote video productions. Budget affects the wired-versus-wireless decision, but planning for monitoring and backup recording is essential for reliable results. The checklist below turns environmental factors into clear microphone recommendations
Identify the environment and primary noise sources before selecting mic type.
Match the number of speakers to receiver and channel capacity for wireless setups.
What Recording Environment Factors Affect Microphone Choice?
Ambient noise, room reverberation, and wind are the primary variables that determine which mic will work best. In reverberant rooms, close-miking with lavs or directional shotguns reduces room tone and improves speech clarity. Outdoors, use wind protection and directional patterns to reject background sounds. Portable acoustic blankets, smart mic placement, and shorter boom distances often solve problems more effectively than swapping mics. Anticipating environment issues before you set up makes gain staging and monitoring much simpler on set.
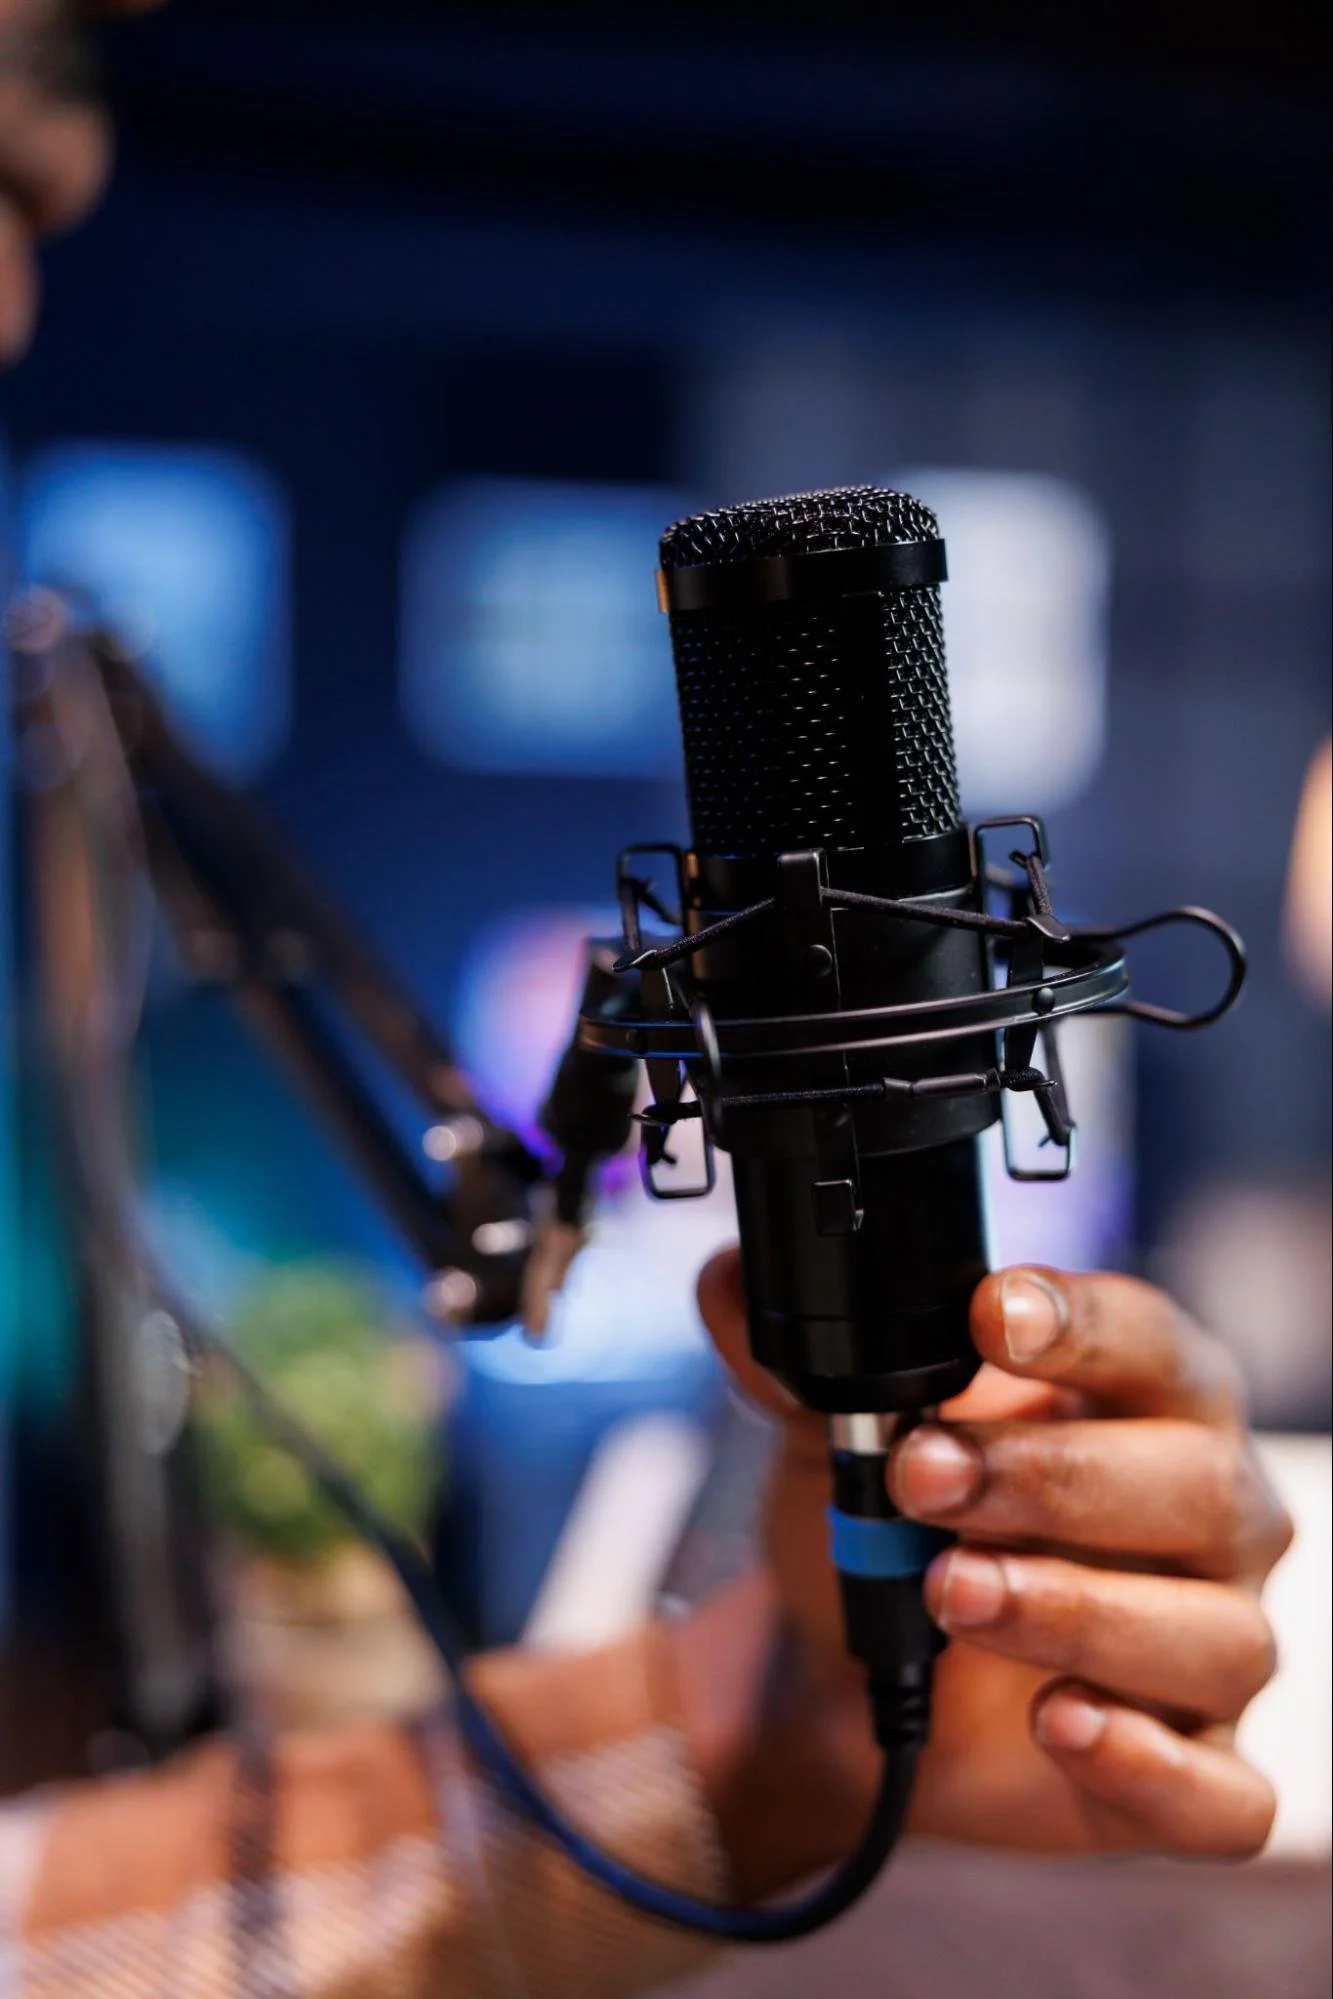
How Do Polar Patterns and Connectivity Impact Microphone Performance?
Polar patterns control how a mic responds to sound from different directions: omnidirectional captures natural room presence, cardioid rejects rear sources, and supercardioid/shotgun patterns give tighter forward focus for isolation. Connectivity (XLR, USB, or wireless) affects signal quality, latency, and power needs. For example, many condensers require phantom power over XLR. Matching pattern and connectivity to your workflow (for example, cardioid XLR lavs feeding a field mixer) strikes the best balance between audio quality and operational simplicity. Knowing these attributes helps you place mics and set gain correctly on set.
What Are the Essential Audio Setup Tips for High-Quality Video Productions?
Good setup practices, proper mic placement, consistent monitoring, and redundant recording prevent audio loss and reduce the need for retakes. Place lavaliers 6–8 inches below the chin and secure them to avoid rustling; position shotguns just out of frame and slightly off-axis to keep warmth while rejecting noise. Monitor on headphones and set conservative gain staging to avoid clipping while keeping the noise floor low. Whenever possible, record a backup track on a separate recorder or use the transmitter's onboard recording. These steps help you capture edit-ready dialogue on the first pass.
Must-do setup checklist before you roll the camera:
Test and set levels: Run tone and reference checks, and keep peaks well below the clipping threshold.
Monitor live: Use headphones to confirm clarity and spot noise or interference early.
Use redundancy: Capture a backup channel on a separate recorder or transmitter.
Protect from wind and rustle: Fit windscreens and secure clothing and cabling.
Following this checklist prevents the most common failures and speeds up post-production.
What Are Common Audio Issues and How Can You Fix Them?
Common problems include background noise, clipping, hum, and wind. Identify the dominant issue and apply the least invasive fix first: isolate noise sources, adjust mic placement, or add protective accessories. Use a high-pass filter to remove rumble, lower the gain to prevent clipping while preserving signal-to-noise ratio, and fit windscreens or deadcats outside. If wireless interference occurs, perform a spectral scan and change frequencies; use onboard recordings as a fallback. These troubleshooting steps save time and keep usable audio intact for post-production.
Capture Studio-Quality Audio With Blazer Videos
Crisp audio can make or break a production. At Blazer Videos, we use industry-leading microphones, expert mixing, and meticulous audio monitoring to deliver clean, broadcast-quality sound in every project.
Ready for professional-grade audio? Contact Blazer Videos, and let's create something exceptional.
FAQs: Microphone Choices for Video Productions
How important is microphone placement?
Extremely important, even the best mic will underperform if placed incorrectly. Keeping lavaliers close to the chest and shotgun mics angled properly from above ensures clarity, reduces background noise, and prevents distortion.
Can built-in camera microphones work for video productions?
They can capture sound, but not at professional quality. Built-in mics pick up too much room noise and lack the precision needed for most productions. Using dedicated microphones dramatically improves clarity and viewer experience.
Next :
Don’t miss : https://www.blazervideo.com/blog/corporate-video-production-tips