Lighting Essentials for Stunning Video Production: Key Techniques and Equipment for Professional Results
Great lighting is the difference between amateur footage and polished video that builds credibility and keeps viewers focused. This guide lays out practical lighting essentials for video production, basic setups, techniques that shape mood and depth, the gear that reliably performs, and a step‑by‑step interview workflow. You’ll learn how three‑point lighting creates separation, when to pick soft versus hard light, how color temperature sets tone, and which fixtures and modifiers work best for corporate, event, and testimonial shoots. Each section includes quick checklists, clear comparisons, and concise setup rules you can use immediately on set or in remote interviews. The examples focus on efficient, low‑friction solutions so teams achieve professional results without a full cinematic rig.
What Is Three-Point Lighting and Why Is It Essential for Video Production?
Three‑point lighting is a core technique using a key light, a fill light, and a backlight to model a subject in three dimensions. Together, these three sources add depth, keep the subject separated from the background, and make faces read clearly on camera. The idea is simple: the key defines form, the fill tames contrast, and the backlight creates rim separation, so you avoid flat, two‑dimensional results. Three‑point setups scale cleanly from single‑camera interviews to multi‑camera corporate shoots and are the fastest way to get consistently professional footage. Knowing each component’s role makes it easier to decide when to add modifiers, swap in a practical, or rebalance for a natural look on camera.
How Do Key Light, Fill Light, and Backlight Work Together?
The key light sculpts the face and sets the dominant direction; the fill light softens shadows and lowers contrast; and the backlight (or hair light) adds a rim that lifts the subject off the background. A handy rule of thumb is a key‑to‑fill ratio between 2:1 and 4:1. Higher ratios give more contrast, lower ratios look softer and more flattering for corporate interviews. Position the key about 30–45 degrees off-axis and slightly above eye level; place the fill nearer the camera axis at reduced power, or bounce it from a reflector; and place the backlight behind and above the subject for subtle rim highlights. These placement and ratio habits reduce harsh shadows, preserve catchlights, and ensure hair and shoulders read on camera, the practical payoff teams see when they use a three‑point approach.
What Are the Benefits of Using a Three-Point Lighting Setup?
Below are the immediate, practical benefits teams get from a three‑point setup on interviews and branded shoots. Each point links directly to outcomes that production teams care about.
Improved Subject Separation: A backlight creates rim highlights, preventing the subject from blending into the background.
Controlled Shadows and Contrast: The fill light balances the key to avoid harsh facial shadows and produce flattering skin tones.
Increased Production Value: Even a modest three‑light setup reads as polished and professional, which supports brand credibility.
These benefits reduce post‑production fixes and make it easier to justify a small amount of extra lighting on client shoots.
Which Video Lighting Techniques Create the Best Visual Impact?
Lighting choices, soft versus hard, high‑key versus low‑key, and the use of natural or practical sources, directly shape how viewers interpret a scene. Soft light reduces contrast and texture, with gentle shadow transitions; hard light emphasizes texture and casts sharp shadows, creating a more dramatic or cinematic effect. Pick the approach based on story and subject: corporate interviews usually favor soft, low‑contrast setups to flatter faces, while branded spots may use harder, directional light for texture and emphasis. Understanding how direction, contrast, and shadow interact lets you design looks that support the message and scale the gear accordingly.
When Should You Use Soft Light Versus Hard Light in Video?
Soft light is ideal for flattering interviews and testimonials because it minimizes skin texture and creates smooth falloff. Hard light is useful when you want contrast, sculpted features, or texture in b‑roll or product shots. To make a hard source behave like a soft one, add diffusion (silks, softboxes) or bounce the light off a large white surface to increase the apparent source size. Fixtures like LED panels with diffusion, softbox kits, or large reflectors let you switch between soft and hard looks without changing the core light. These conversion tactics enable quick on‑set choices that preserve mood while keeping setups efficient for corporate schedules.
Soft setups: Best for interviews, testimonials, and beauty‑friendly brand films.
Hard setups: Best for stylized b‑roll, texture emphasis, and dramatic brand scenes.
Conversion tactics: Use diffusion, bounce, or reduce intensity to match the desired texture.
These distinctions guide fixture selection and lead naturally into how color temperature affects mood and why matching sources matters.
How Does Color Temperature Affect Video Mood and Quality?
Color temperature (measured in Kelvin) determines whether a light reads warm or cool and strongly influences emotional tone and white‑balance consistency. Tungsten‑like light around ~3200K feels warm and intimate; daylight around ~5600K reads neutral to cool and communicates openness and clarity. Mixing these without compensation causes color casts that distract viewers. Practically, match your camera’s white balance to the dominant source, or use bi‑color fixtures and gels to harmonize mixed environments. Keeping color temperature consistent preserves natural skin tones and reduces time‑consuming color correction, making CRI/TLCI reliability and temperature control key equipment priorities.
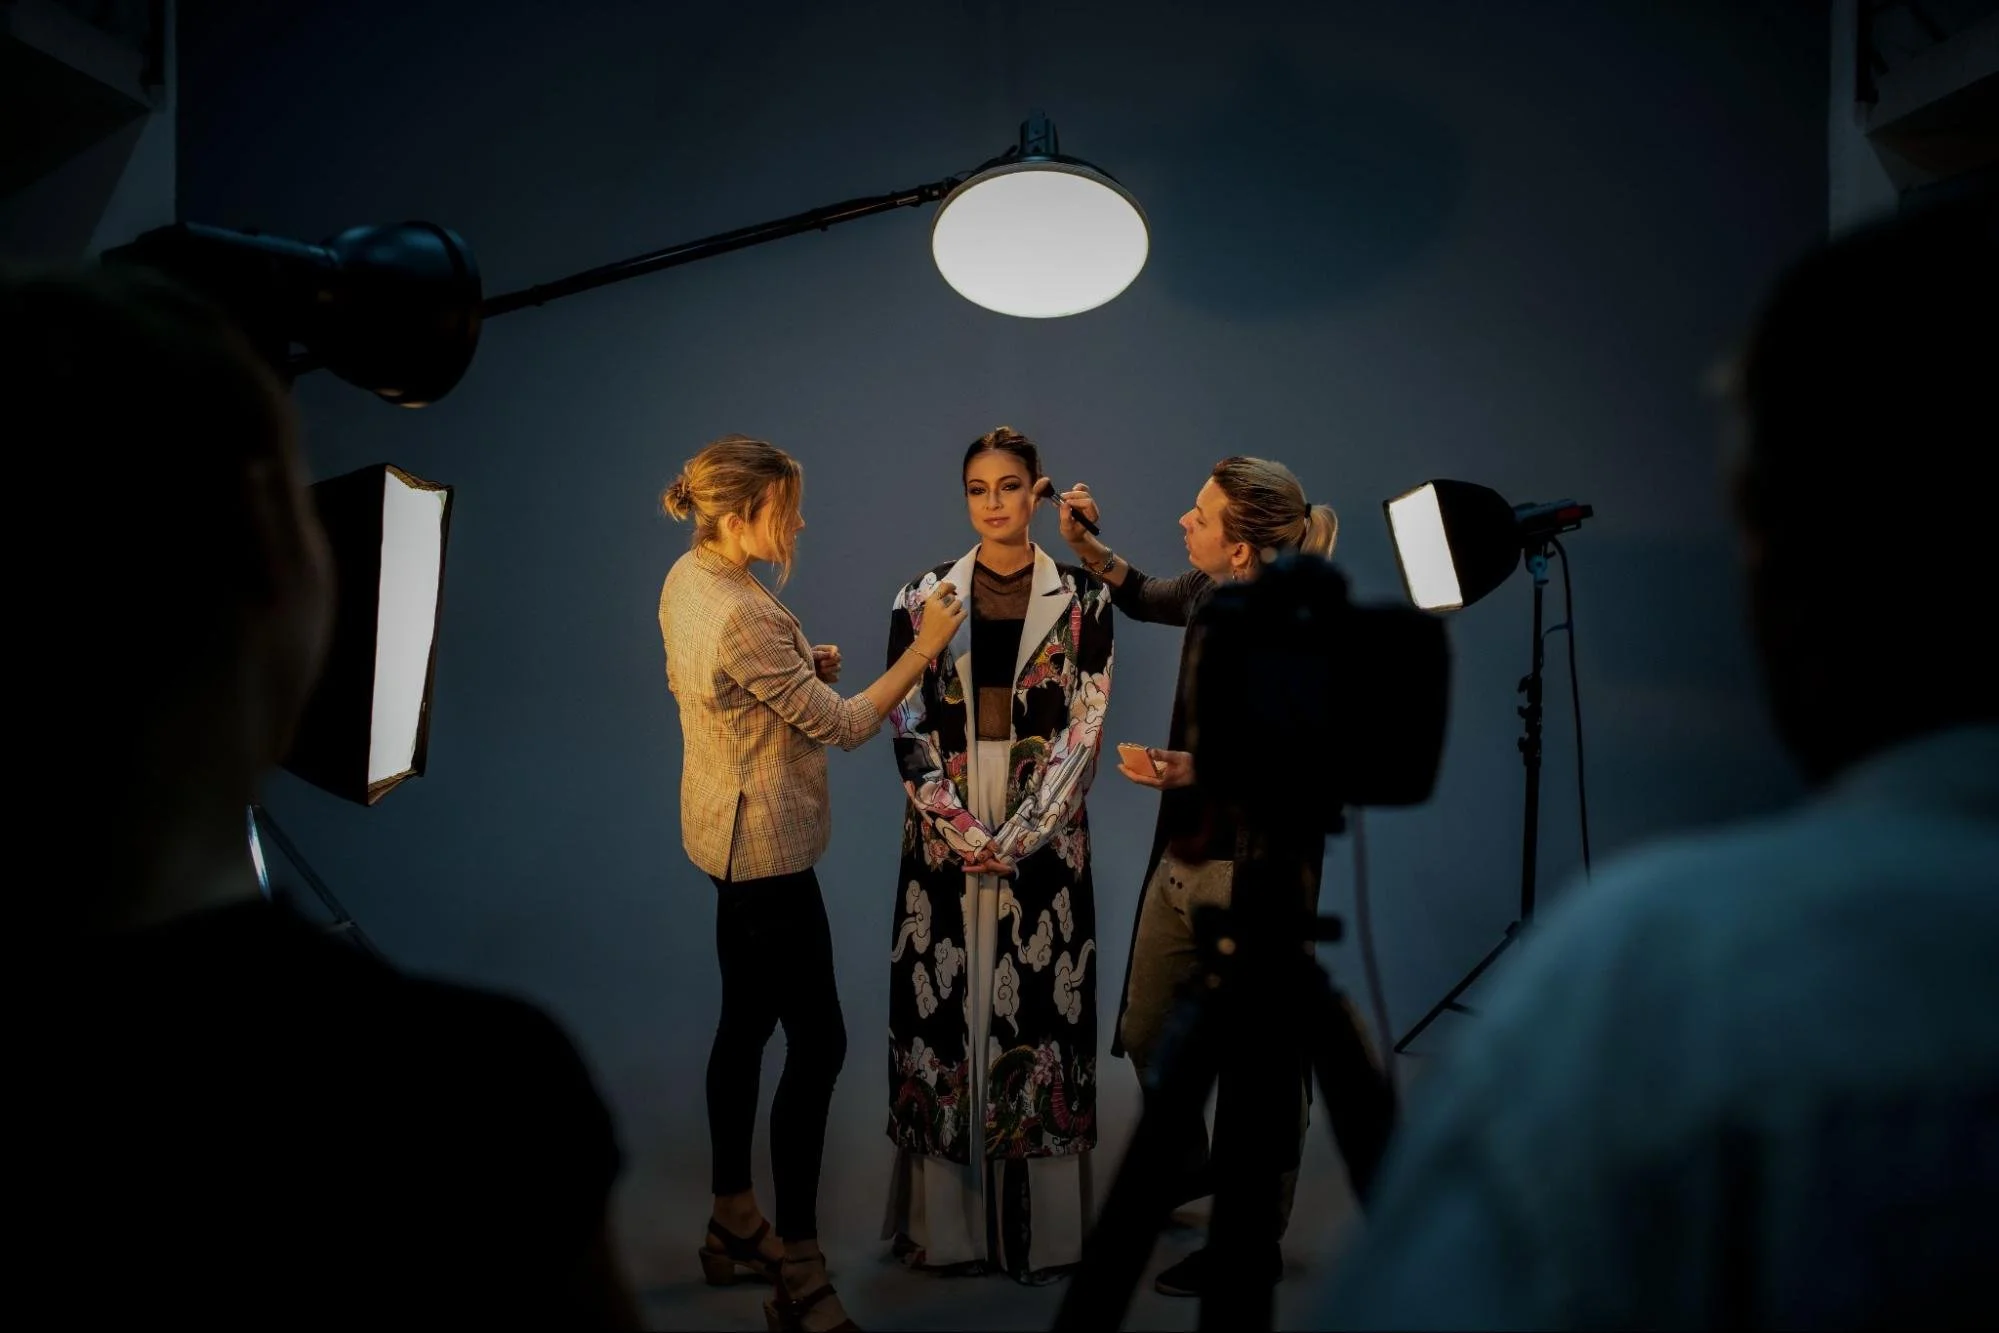
What Are the Best Video Lighting Equipment Options for Professional Production?
The right gear depends on the job: corporate interviews need soft, high‑CRI light and portability; events require punch and battery power; branding shoots often call for high output and shaping tools. LED panels are compact, dimmable, and color‑adjustable, making them versatile across corporate and remote shoots. Softboxes and diffusion frames give large, flattering sources for portraits, while ring lights and COB fixtures serve specific roles in beauty and high‑output situations. Accessories like stands, modifiers, gels, and reflectors determine how a light behaves on set and should be chosen to match the desired look and logistics.
Which LED Panels, Softboxes, and Ring Lights Are Ideal for Video?
Below is an equipment comparison to help you pick common fixtures based on strength and recommended scenarios. The table clarifies which option suits corporate interviews, event coverage, or branding shoots and highlights what to prioritize when planning gear.
Equipment Type
Strength / Attribute
Recommended Scenario
LED Panel
Color‑adjustable, dimmable, portable
Remote interviews, multi‑camera corporate shoots
Softbox Kit
Large, soft source with even falloff
Single‑camera interviews, testimonial closeups
Ring Light
Even frontal wrap, strong catchlights
Beauty shots, influencers, tight product portraits
This comparison shows LED panels offer the most flexibility, softboxes deliver the most flattering portrait light, and ring lights are specialized tools. Use these trade‑offs to plan gear lists and budgets for each shoot type.
How Do Lighting Accessories Like Reflectors and Diffusers Enhance Your Setup?
Reflectors, diffusers, flags, and gels are the finishing tools that shape and control light to solve common on‑set problems like glare, harsh shadows, and loss of separation. Reflectors bounce and soften light without extra power; diffusers increase apparent source size for gentler falloff; flags block spill; and gels correct or creatively tint color. Small moves, bounce a key into a white reflector to soften it, add a 1/4 CTO to warm mixed daylight, or flag a background light to prevent flare, often beat adding another powered unit, especially on tight corporate schedules. These accessories preserve natural skin tones and reduce heavy color grading in post, resulting in more efficient interview setups.
Reflectors: Bounce and fill without extra power.
Diffusers: Soften hard sources and expand coverage.
Flags/Gobos: Shape light and block unwanted spill.
An accessory‑first approach saves time and budget while improving visual outcomes on compressed production timelines.
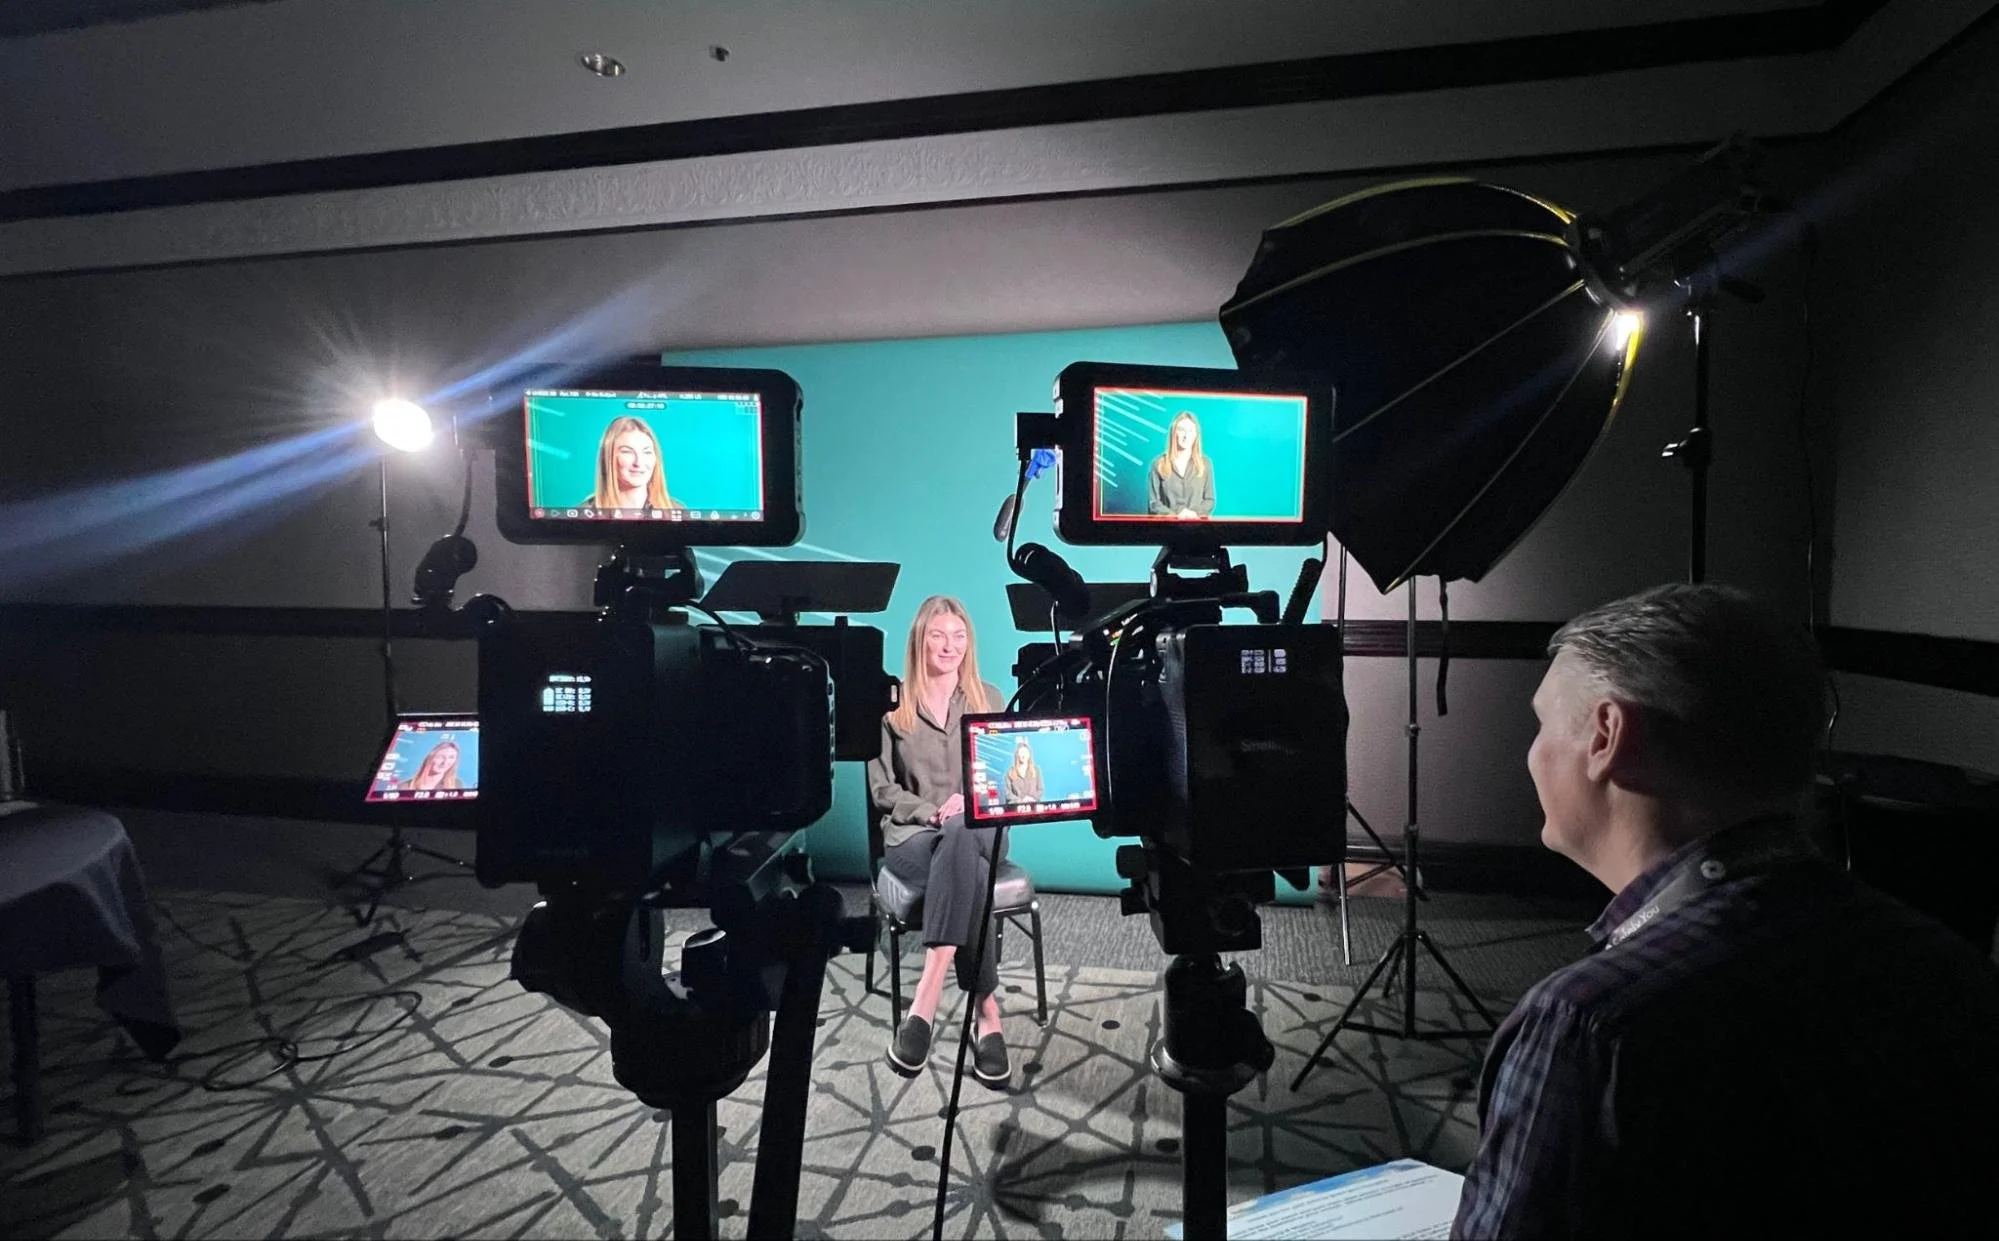
How Do You Light a Video Interview for Flattering and Clear Results?
A reliable interview lighting plan prioritizes flattering facial modeling, consistent color, minimal shadows, and clear background separation so the subject reads well and editors can focus on content. Start with a three‑point foundation, refine key‑to‑fill ratios, and add a hair/backlight for separation; confirm catchlights and white balance before you roll. Use compact LED panels or softboxes for soft, even illumination, and add reflectors when space or power is limited. The checklist below gives a repeatable workflow you can apply on location or in remote interview builds.
What Is the Ideal Interview Lighting Setup for Reducing Shadows?
Follow these steps to minimize facial shadows and create flattering, consistent interviews.
Position the key light: Place it 30–45° off camera and slightly above eye level; use a softbox or diffused LED panel for gentle modeling.
Add fill: Use a reflector or a low‑power LED near the camera axis at about 50% of key intensity to reduce contrast.
Set the back/hair light: Place it behind the subject, aimed at the shoulders and hair, at low power to create separation without rim clipping.
Check catchlights and distance: Adjust key distance to preserve natural catchlights; keep the key roughly 3–6 feet from a seated subject, depending on output.
These steps yield minimal shadowing and natural skin tones on camera. If shadows persist, lower key intensity or increase fill. Troubleshooting common issues like underexposed faces or hot highlights usually means adjusting distance or adding diffusion.
Interview Element
Problem Addressed
Lighting Solution
Eye glare / hot spots
Distracting reflections in glasses
Lower key angle, soften with diffusion
Heavy cheek shadows
Unflattering contrast
Increase fill or use a reflector near camera
Background blending
Subject lacks separation
Add a subtle backlight or background kicker
This quick mapping helps crews diagnose and fix common issues on set, reducing reshoots and speeding post.
How Can Background and Eye-Level Lighting Improve Interview Quality?
Background and eye‑level lighting lift perceived production value by creating depth and delivering engaging catchlights that draw viewers to the subject. A subtle background wash or a practical behind-the-subject adds visual interest and prevents flat compositions, while a controlled hair light or kicker defines separation. Eye‑level catchlights, created by the key or a small fill, make the subject look lively and improve viewer connection. In small rooms or remote setups, use compact LED panels on lower power for backlight and a clipped practical or LED strip for background interest; these scalable tactics make polished interviews achievable in most locations.
These background and eye‑light strategies help subjects look three‑dimensional, connected, and camera‑ready, and they help production teams pack the right fixtures and modifiers for each shoot.
Elevate Your Next Video With Pro-Level Lighting
Ready to take your visuals from “good” to absolutely cinematic? Our team at Blazer Videos brings expert lighting, advanced equipment, and years of video production experience to every project. Whether you need corporate videos, product promos, or stunning testimonials, we’ll help you create lighting that transforms your brand story.
Let’s make your next video unforgettable. Contact Blazer Videos today.
FAQs: Lighting for Professional Video Production
Why is lighting so important for video production?
Lighting shapes mood, clarity, and perceived production value. Good lighting improves skin tones, reduces harsh shadows, and ensures the subject looks sharp and polished. Without proper lighting, even high-end cameras struggle to capture professional-level visuals.
Do you need expensive lighting gear to get professional results?
Not necessarily. Technique matters more than price. Even budget LED panels or practical lamps can achieve beautiful results when positioned correctly and balanced with natural light. However, high-quality tools do give more control, color accuracy, and consistency on set.
Reference: Next Up: How Social Video Drives Business Growth
Want to see how well-lit videos actually impact engagement and revenue?
Check out the next article: How Social Media Video Content Drives Business Growth: Practical Strategies and Measurable Benefits.